Dashboard — /dashboard
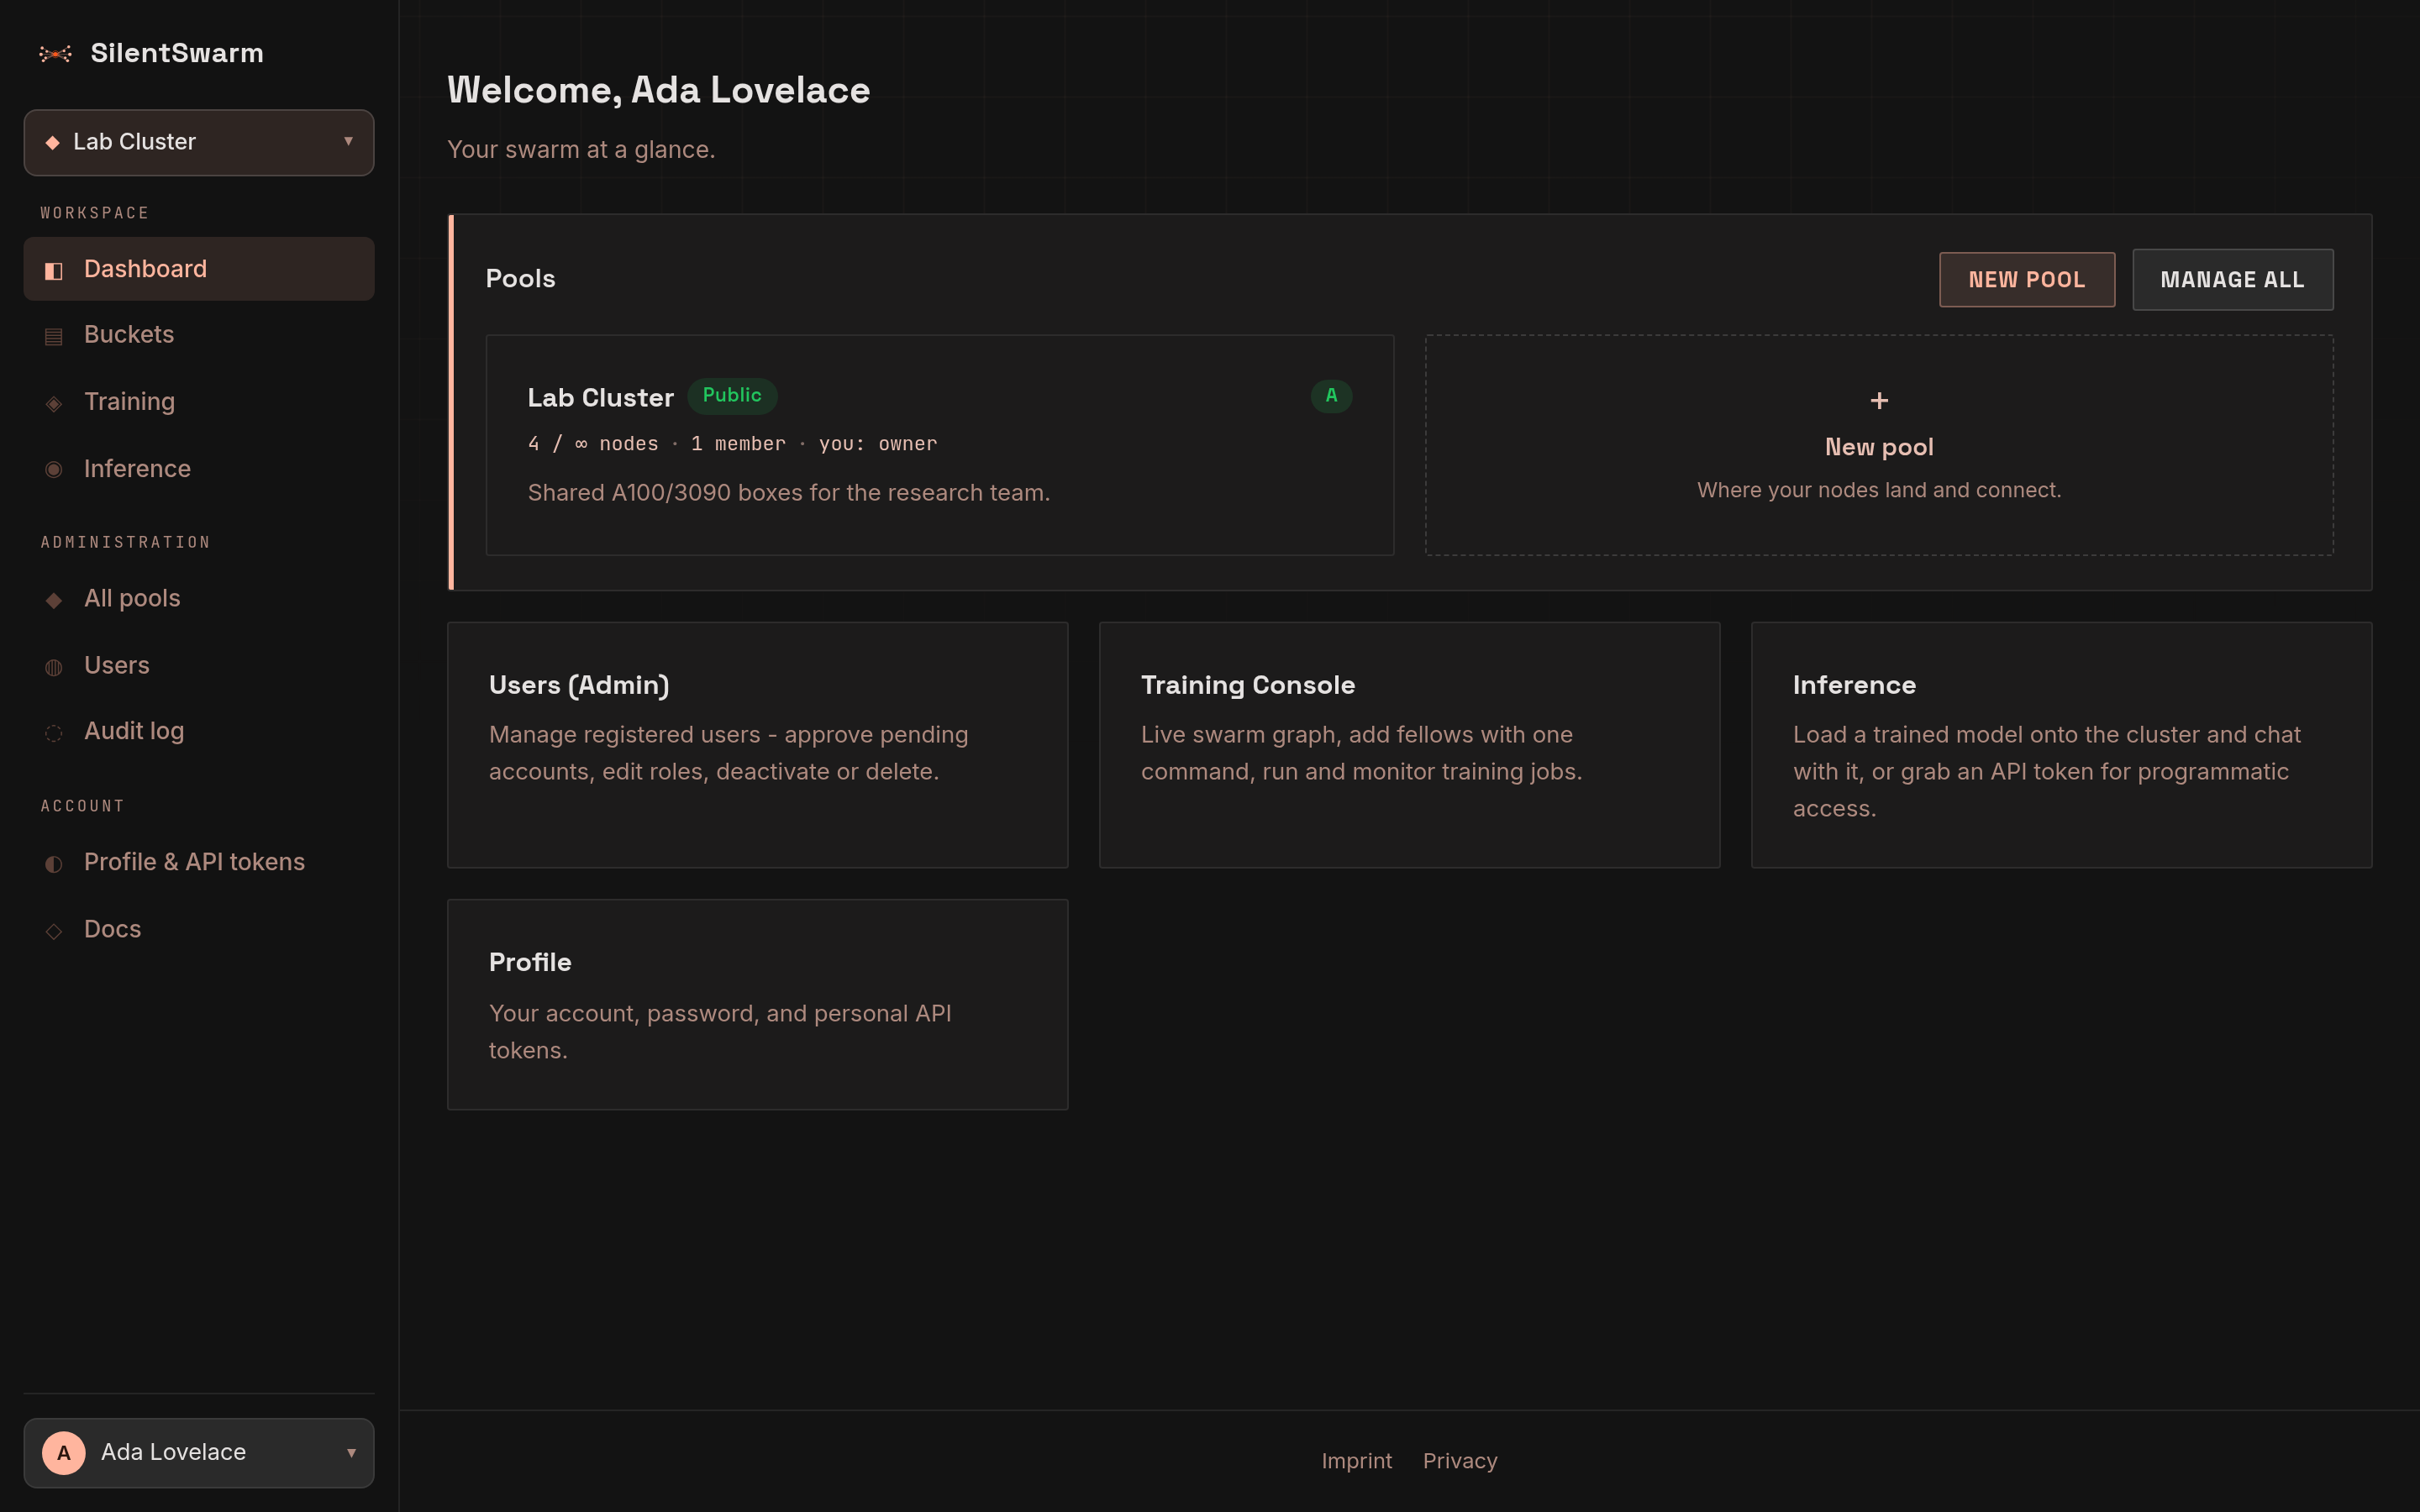
Your home screen after signing in — an at‑a‑glance view of your swarm and the jump‑off point to everything else.
Get started
A four‑step checklist that tracks your progress and links to the next action:
- Create or pick a pool — ticks green once you have access to a pool.
- Add a node — opens the Training console to get the one‑line join command.
- Train a model — submit a job from the Training console.
- Serve & chat — load a trained model on the Inference page.
Pools
Cards for every pool you can see — each shows visibility (public/private), node count vs. quota, member count, and your role. Click a card to open its detail page.
Each card also carries the pool's health grade as a
letter pill next to its name (hover for the score), and appends · N offline
when machines have dropped out — so a degrading pool is visible from the home
screen without opening anything. A pool with too little history to grade shows
— rather than a bad grade.
New pool — in the card header, and as the dashed tile at the end of the grid — opens a dialog for the name, visibility, and an optional description. Only the visibilities your plan allows are offered; with a single choice the dialog says which one applies instead of asking. Creation jumps straight to the new pool's detail page, where the join command lives.
When your plan's pool quota is used up, the line under the heading spells out the
allowance (1 of 1 pool(s) on your plan · up to 2 node(s) each), the button is
disabled, and the dashed tile reads Pool limit reached.
Manage all (admins only) opens the pools admin page.
Shortcut cards
Quick links to Users (Admin), the Training Console, Inference, and your Profile — the same destinations as the sidebar, described for first‑time users.